Blog Vault
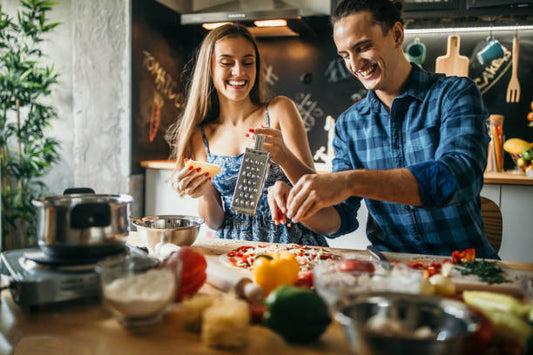
Make it A Date Night In!
The Magic of a Date Night In: Why Cooking Together Strengthens Your Relationship In today’s fast-paced world, quality time as a couple can easily take a backseat to work, responsibilities,...
Secrets Chefs Use for Easy Weeknight Meals
12 Tips to take the stress out of getting dinner on the table! Ever wonder how chefs whip up scrumptious meals so quickly? Imagine coming home after a hectic day,...
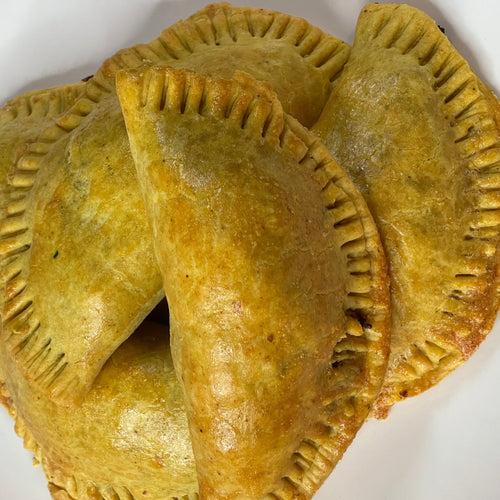
Jamaican Patties: A Taste of History You Can Cr...
The Global Journey of Jamaican Patties Jamaican patties, with their flaky crust and flavourful fillings, are a beloved staple of Jamaican cuisine and a symbol of the island's rich culinary...
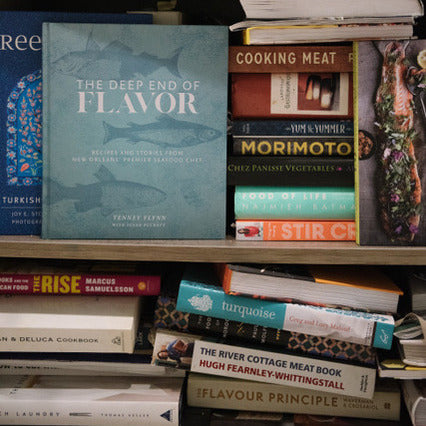
Our Top Ten Cookbooks!
Top Cookbooks to Inspire Your Kitchen Creativity There’s nothing like a great cookbook to ignite your passion for cooking and transform your kitchen experience! Jody has more cookbooks than Indigo--we...

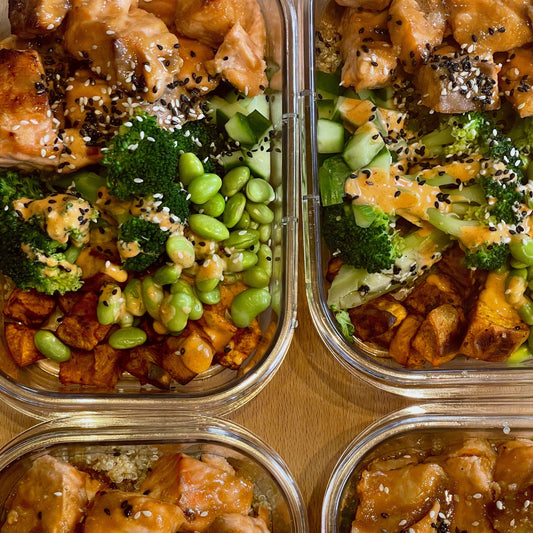
Save Time and Alleviate Stress with Quick & Eas...
Hello Fellow Busy Home Cooks! In today’s fast-paced world, having quick and easy meals on hand can be a total game-changer. It's tempting to get take-out on evenings where...

Guide to Cooking with Beer!
Cooking with Beer! Beer isn’t just for drinking—it can also be a star ingredient in your kitchen! Cooking with beer adds depth, flavor, and richness to a variety of dishes. ...

What is African Food?
African food is incredibly diverse, with more than 50 countries and countless ethnic groups, African cuisine includes countless varieties of ingredients, flavors, and cooking techniques. So where do we start? ...
What is the difference between Stock & Broth?
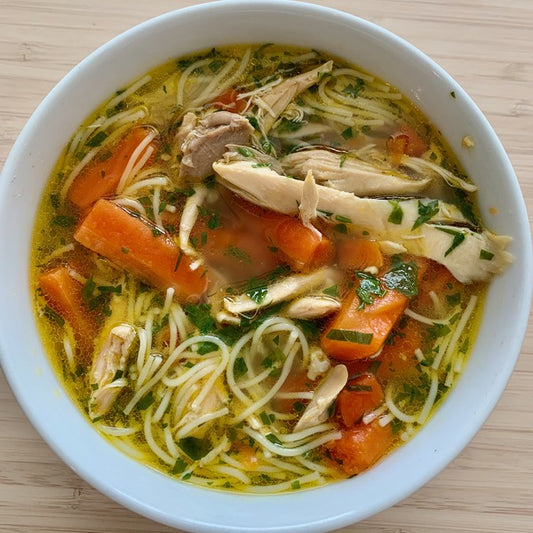
We're here to answer some questions and clear up some misnomers when it comes to making soup. What is the difference between stock & broth anyway? What is better? Can...
Is it done? How to Test your Chicken for Donen...
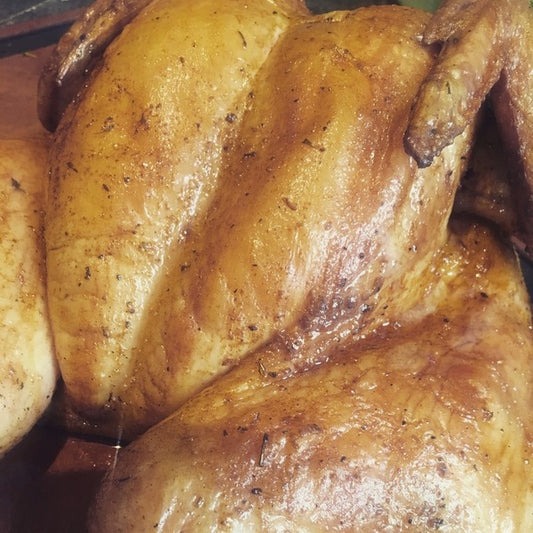
How do I know if Chicken is Cooked? Arguably chicken is one of the most popular protein choices available. It is so versatile as it can be prepared in countless...
Tomato Season! How to choose the best tomato fo...
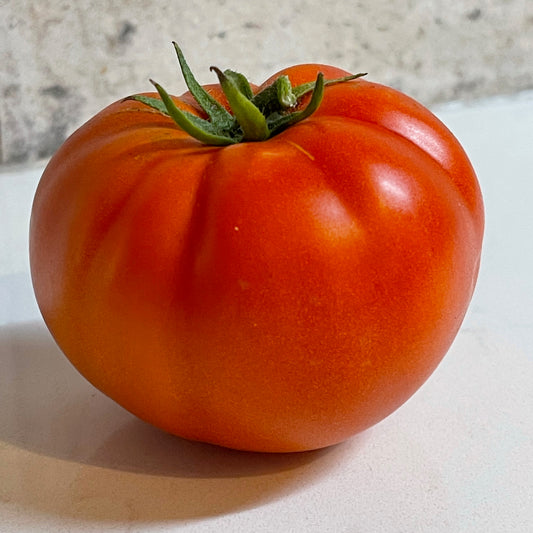
Summer is the season when tomatoes truly shine. Bursting with vibrant colors and rich flavours, these sun-ripened gems are at their peak during the warmest months. Whether you’re picking them...
Why Cooking & Eating Together as a Family is so...
Why Cooking & Eating Together as a Family is so Important Growing up in the 80’s, supper time was the best part of the day. We would either...
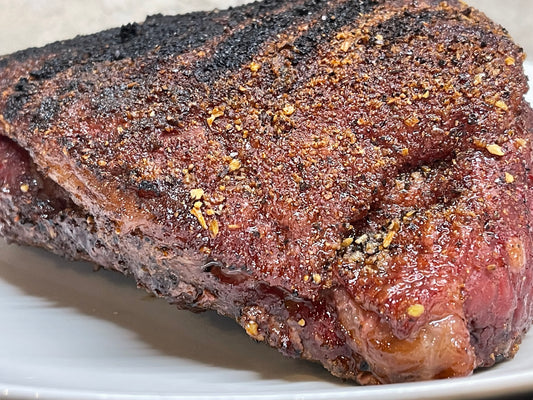
Picanha - The perfect cut meat to reverse sear!
Picanha - The perfect cut meat to reverse sear If you're looking to elevate your backyard BBQ game look no further than the Picanha. Rich in flavour, tender texture, versatile,...
Upcoming Live Cooking Classes
-

Easter Brunch Prep Class
Thu, Apr 17, 2025
Regular price $35.00Regular priceUnit price per -

Bao Buns with Crispy Chicken Cooking Class!
Wed, Apr 23, 2025
Regular price $35.00Regular priceUnit price per -

The Ultimate Burrito!
Wed, Apr 30, 2025
Regular price $30.00Regular priceUnit price per -

Breakfast for Dinner!
Wed, May 07, 2025
Regular price $30.00Regular priceUnit price per


On-Demand Cooking Classes
-

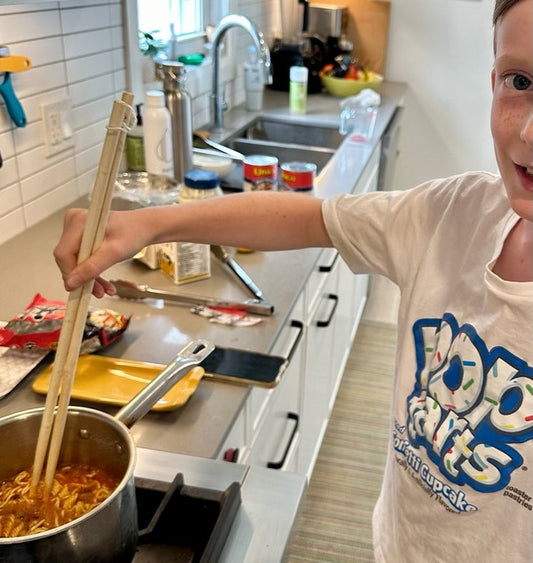
Kids Can Cook! Best Ever Spaghetti & Meatballs
Regular price $15.00Regular priceUnit price per -
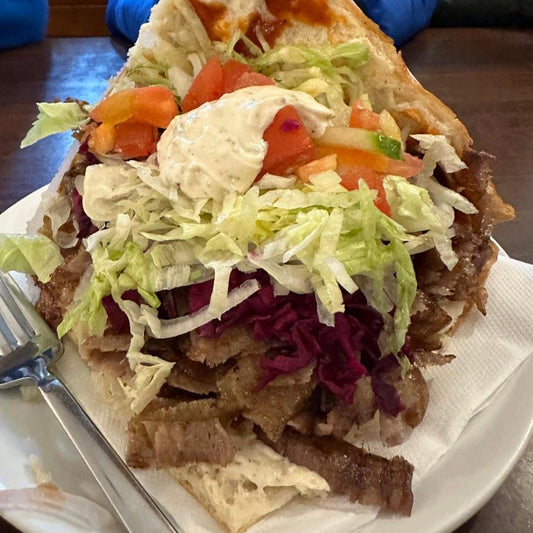
Berlin-Style Turkish Doner Kebab!
Regular price $20.00Regular priceUnit price per -
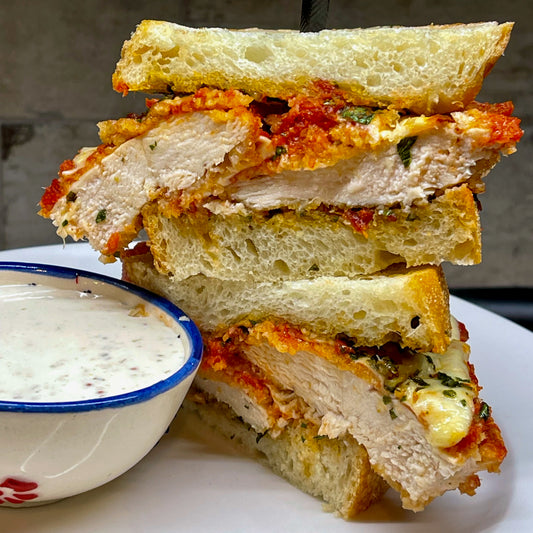
Chicken Parmesan Panini Family Dinner!
Regular price $20.00Regular priceUnit price per -
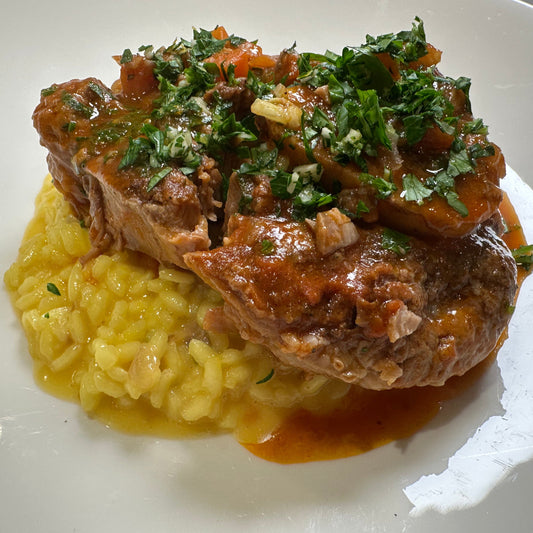
Osso Buco Online Cooking Class!
Regular price $20.00Regular priceUnit price per


